Read阅读Read阅读Read阅读Read阅读Read阅读Read阅读Read阅读Read阅读Read阅读Read阅读Read阅读Read阅读Read阅读Read阅读Read阅读Read阅读Read阅读Read阅读Read阅读Read阅读Read阅读Read阅读Read阅读Read阅读Read阅读Read阅读Read阅读Read阅读Read阅读Read阅读Read阅读Read阅读Read阅读Read阅读Read阅读Read阅读Read阅读Read阅读Read阅读Read阅读Read阅读Read阅读Read阅读Read阅读Read阅读Read阅读Read阅读Read阅读Read阅读Read阅读Read阅读Read阅读Read阅读Read阅读Read阅读Read阅读Read阅读Read阅读Read阅读Read阅读Read阅读Read阅读Read阅读Read阅读

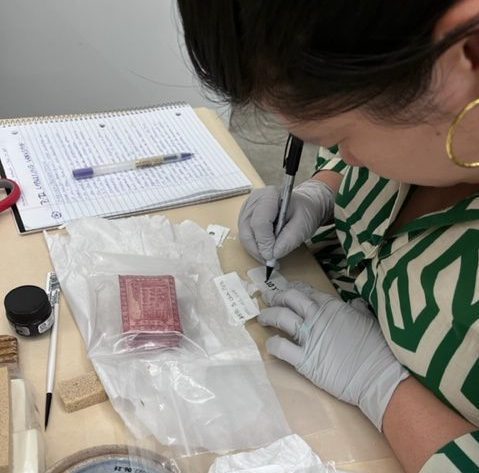
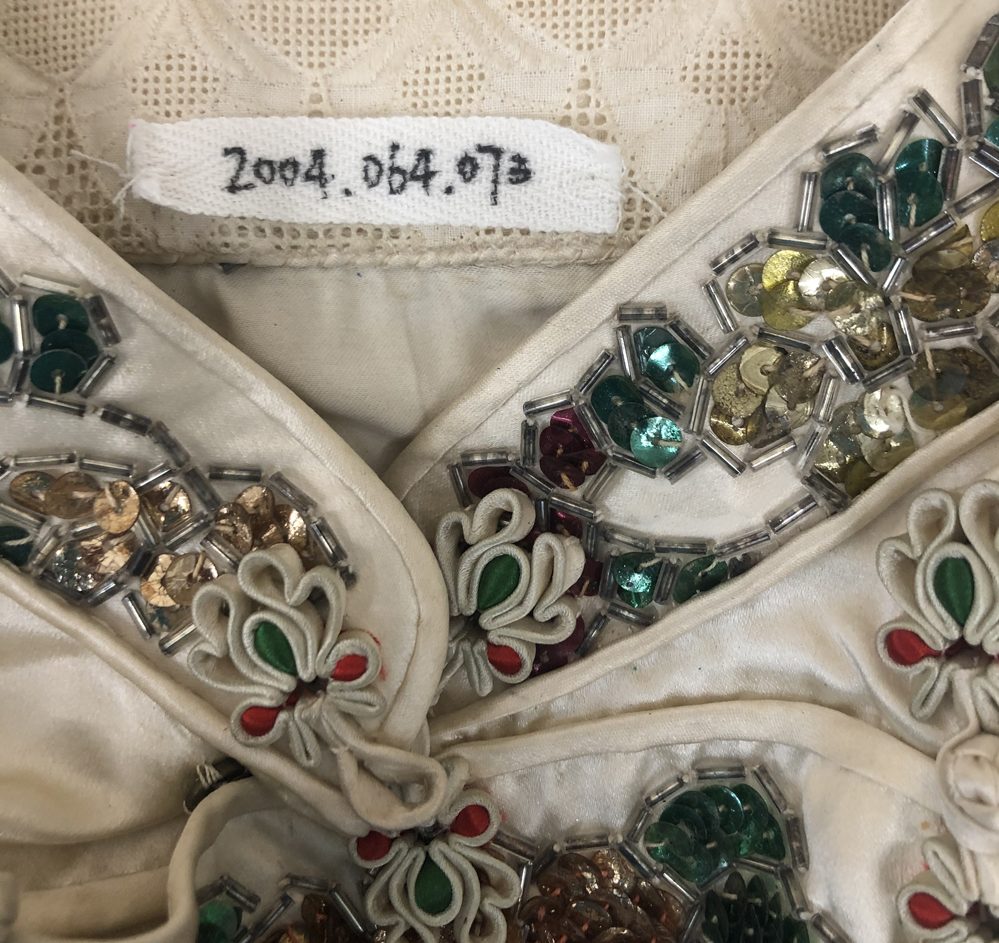
For each object taken into the care of MOCA’s collections, MOCA staff record as much information as possible about its donor, provenance, use, and history. We then assign it a unique object number and storage location within the archive. Labeling each object with its unique object number allows us to easily identify that object within our vast collection of 85,000+ objects, as well as access all of the contextual and location information recorded about it. The object number is usually marked directly on the object so that it cannot become separated from its documentation.

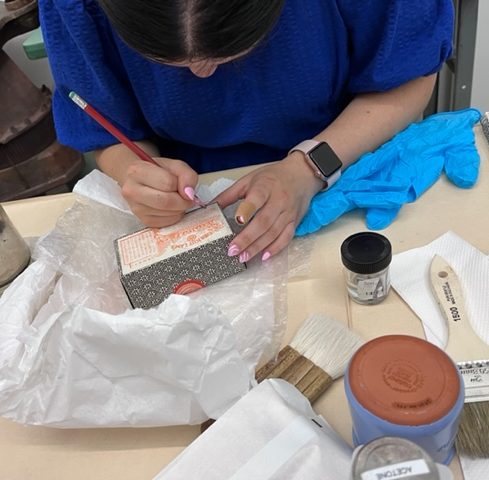
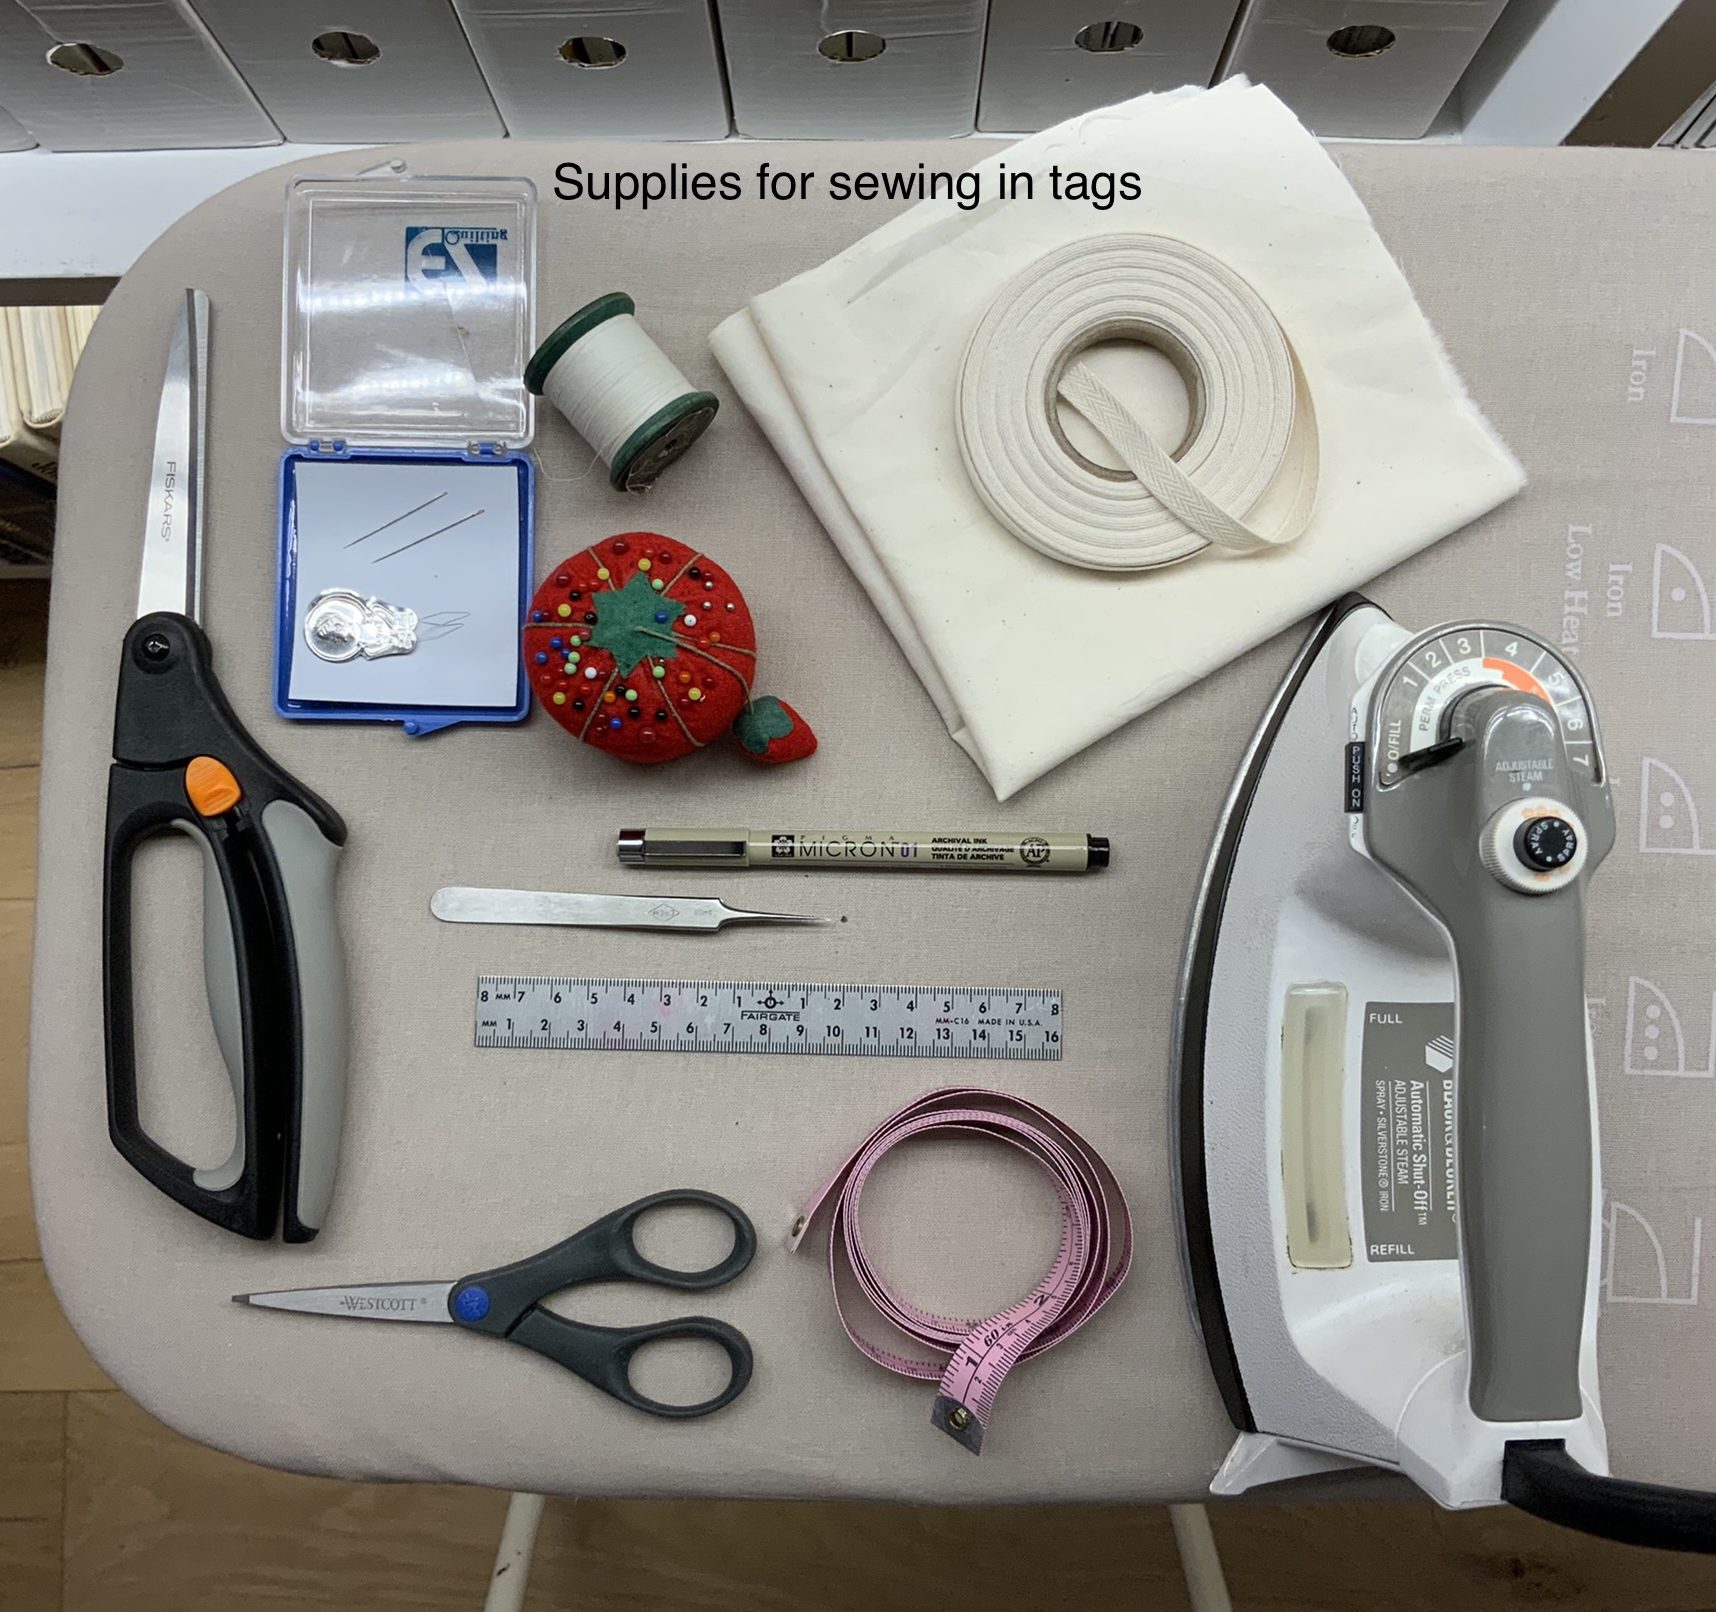
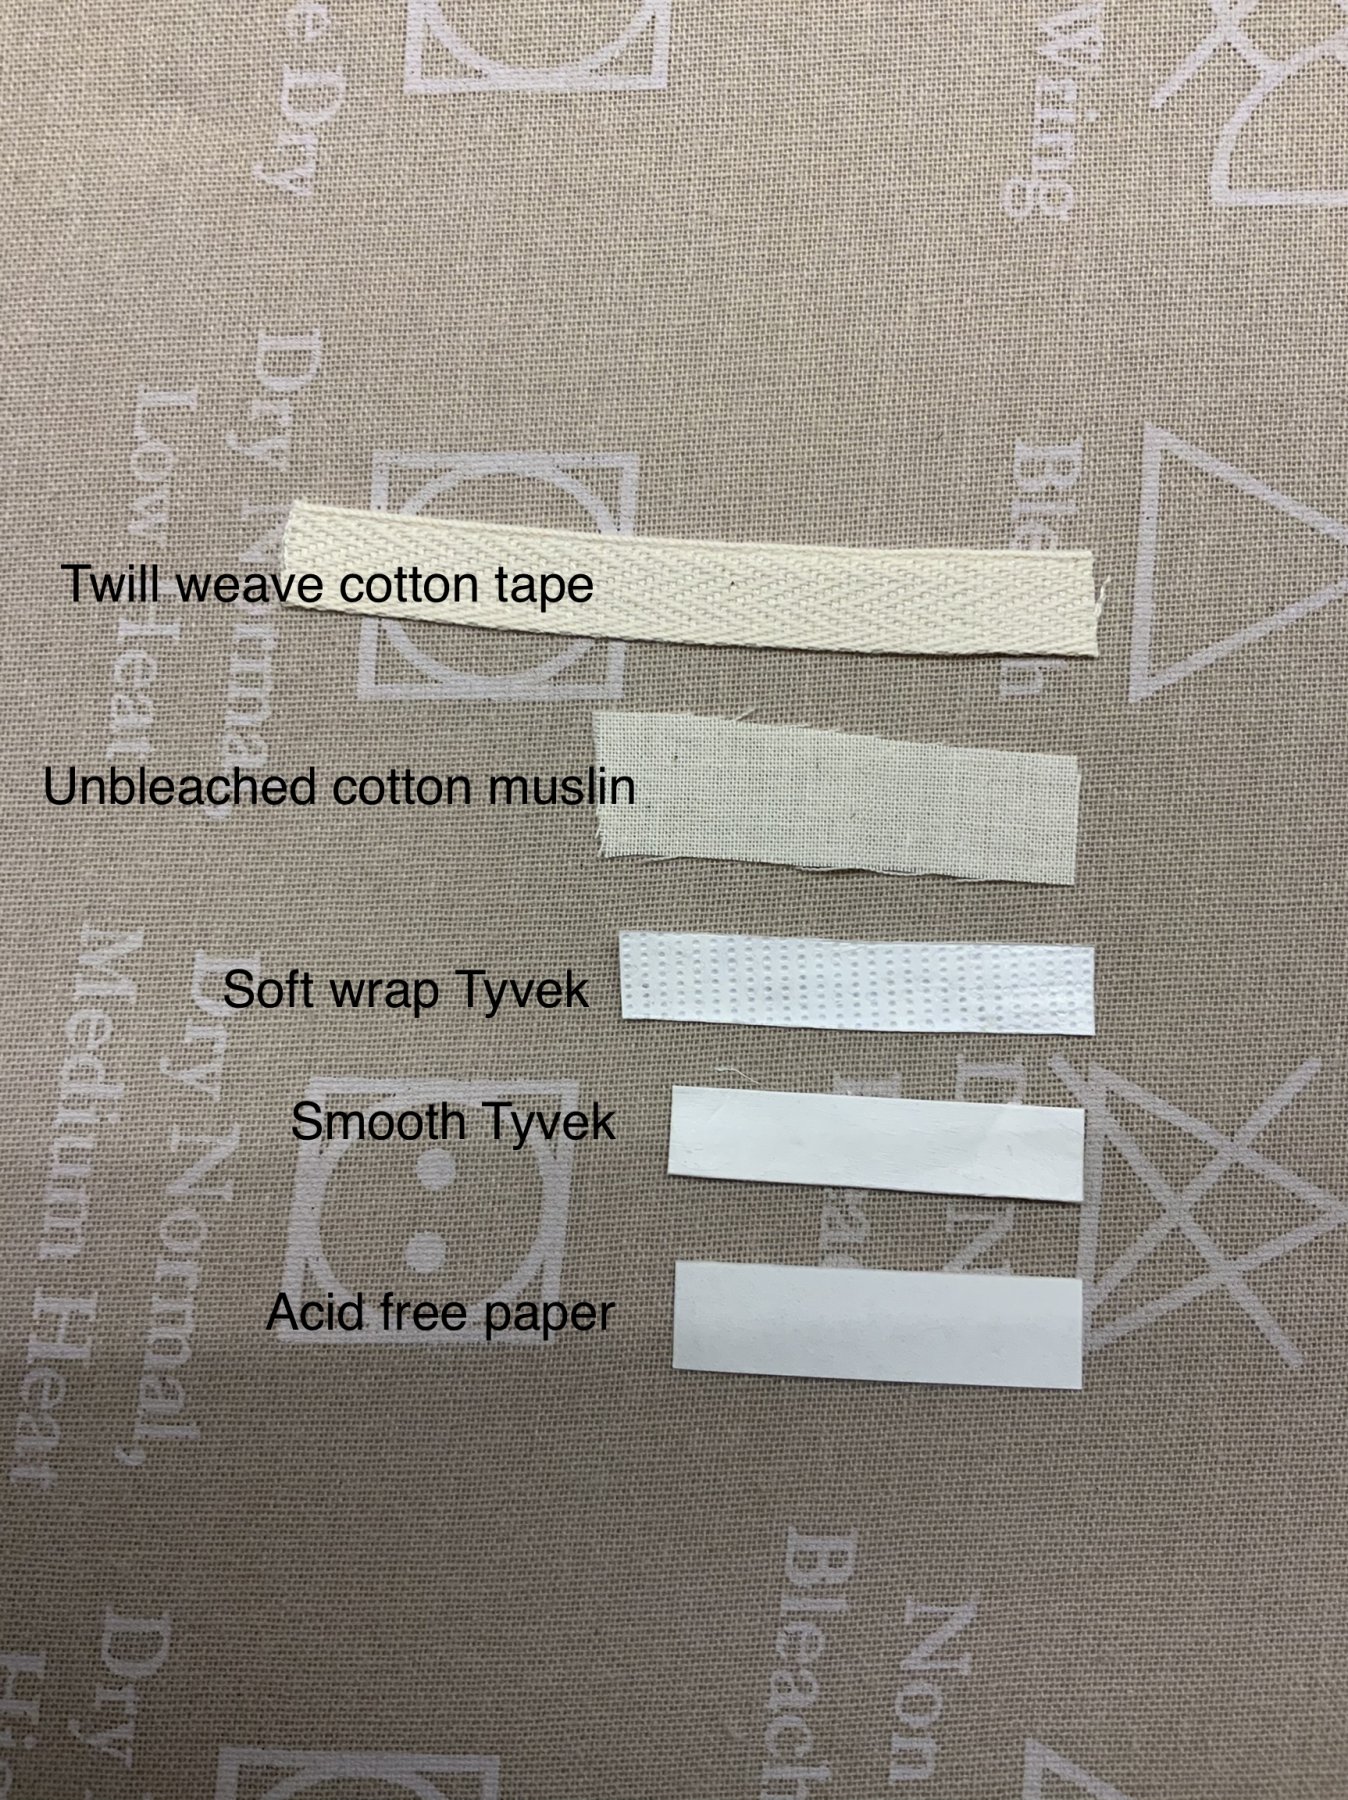
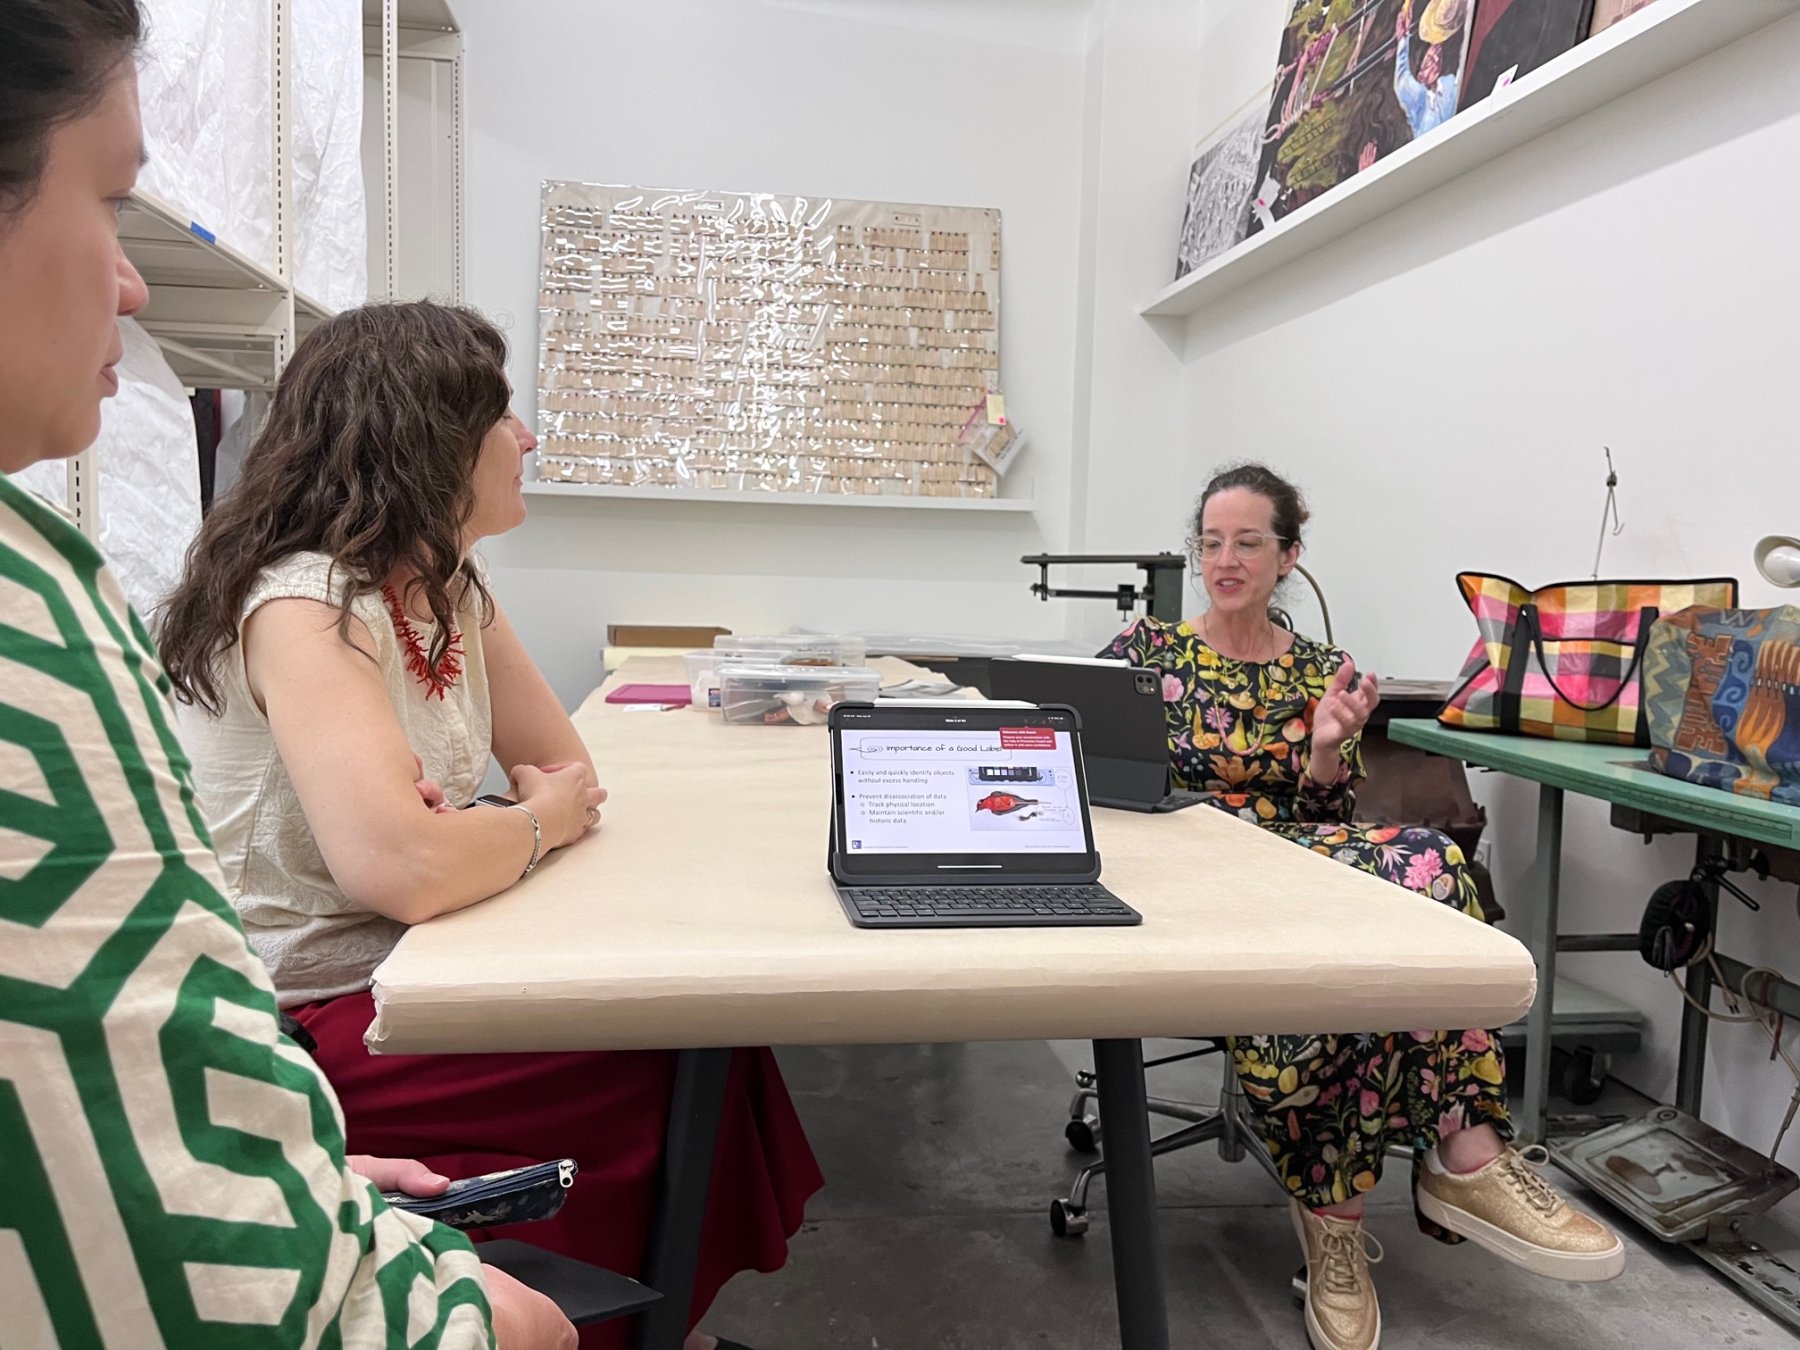
This past July, object conservators at A.M. Art Conservation Anne Léculier King and Eugenie Milroy conducted a hands-on workshop with MOCA Collections staff to review best practices and most appropriate methods for labeling museum objects made of wood, glass, metal, paper, various textiles, and other materials. The particular method chosen in each instance needs to be legible, durable, non-damaging, and removable.

Below are some photos and lessons we learned from our workshop.
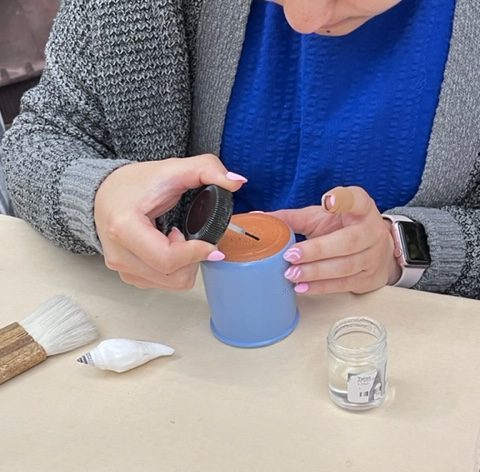
3D Objects:

On objects with inorganic, smooth, unpainted surfaces such as glass, metal, and ceramic, we learned the method of creating a barrier coat and writing the object number with archival ink on that coating instead of directly on the object.
The coating we used was the thermoplastic resin, Paraloid B-72, dissolved in acetone or ethanol. It is relatively durable but does not harm the object and is removable if rubbed with acetone, a bottle of which is shown above.
In this finished label, we chose to write the number on the bottom so that it would not be visible while on display. After the pen ink dries another layer of Paraloid is applied on top, creating a barrier seal over the written object number.
This photo shows some Po Chai pills (Chinese medicine for indigestion, heartburn, etc.) receiving such a bagging and paper and ink label. Archival ink does not fade with time as other inks.
On objects made of paper, we wrote object numbers directly on it using a soft HB or No. 2 pencil.
When we could not write directly on the object or determined it best to bag multiple objects so that they stayed together, we created paper labels using acid-free paper and archival ink.

Textiles:

Earlier this year, FIT Professor Deborah Trupin also taught MOCA staff how to create accession labels for our collection of beautiful qipao. We hand wrote the object number on cotton tape with archival ink and then stitched this onto the collar of the garment.

Starting supplies for this method of labeling include a Micron01 or identipen, pair of scissors to cut labels in proper sizes from the cotton tape, an iron to flatten the label and heat set the ink, and needle and thread to securely sew the label onto the clothing. Photo courtesy of Eugenie Milroy.
One of the first choices to consider is what material to use for the labels. At MOCA, we decided on the twill weave cotton tape, ideal for the sewing method because the edges do not fray as easily and it holds up well to heating. Photo courtesy of Eugenie Milroy.
We make sure to legibly write the object number with an archival ink pen that is acid-free, permanent, lightfast, and resistant to bleeding and fading. Photo courtesy of Rachael Perkins Arenstein.
Lastly, we hand stitch the label to the same place on the collar of all the garments. We chose a quite visible place so that we always know where to look without having to excessively handle the garment. Photo courtesy of Eugenie Milroy.
After writing on the cloth labels, we wash them in an Orvus mild detergent solution and water, then rinse to make sure the ink does not bleed. Photo courtesy of Eugenie Milroy.
We then use a warm iron to help dry and heat set the archival pen ink. The heat activates the pigments and bonds the ink permanently to the fabric, so that it won’t wash or rub off. Photo courtesy of Rachael Perkins Arenstein.